Transform a Photo into a Manga Pencil Sketch with Screentone
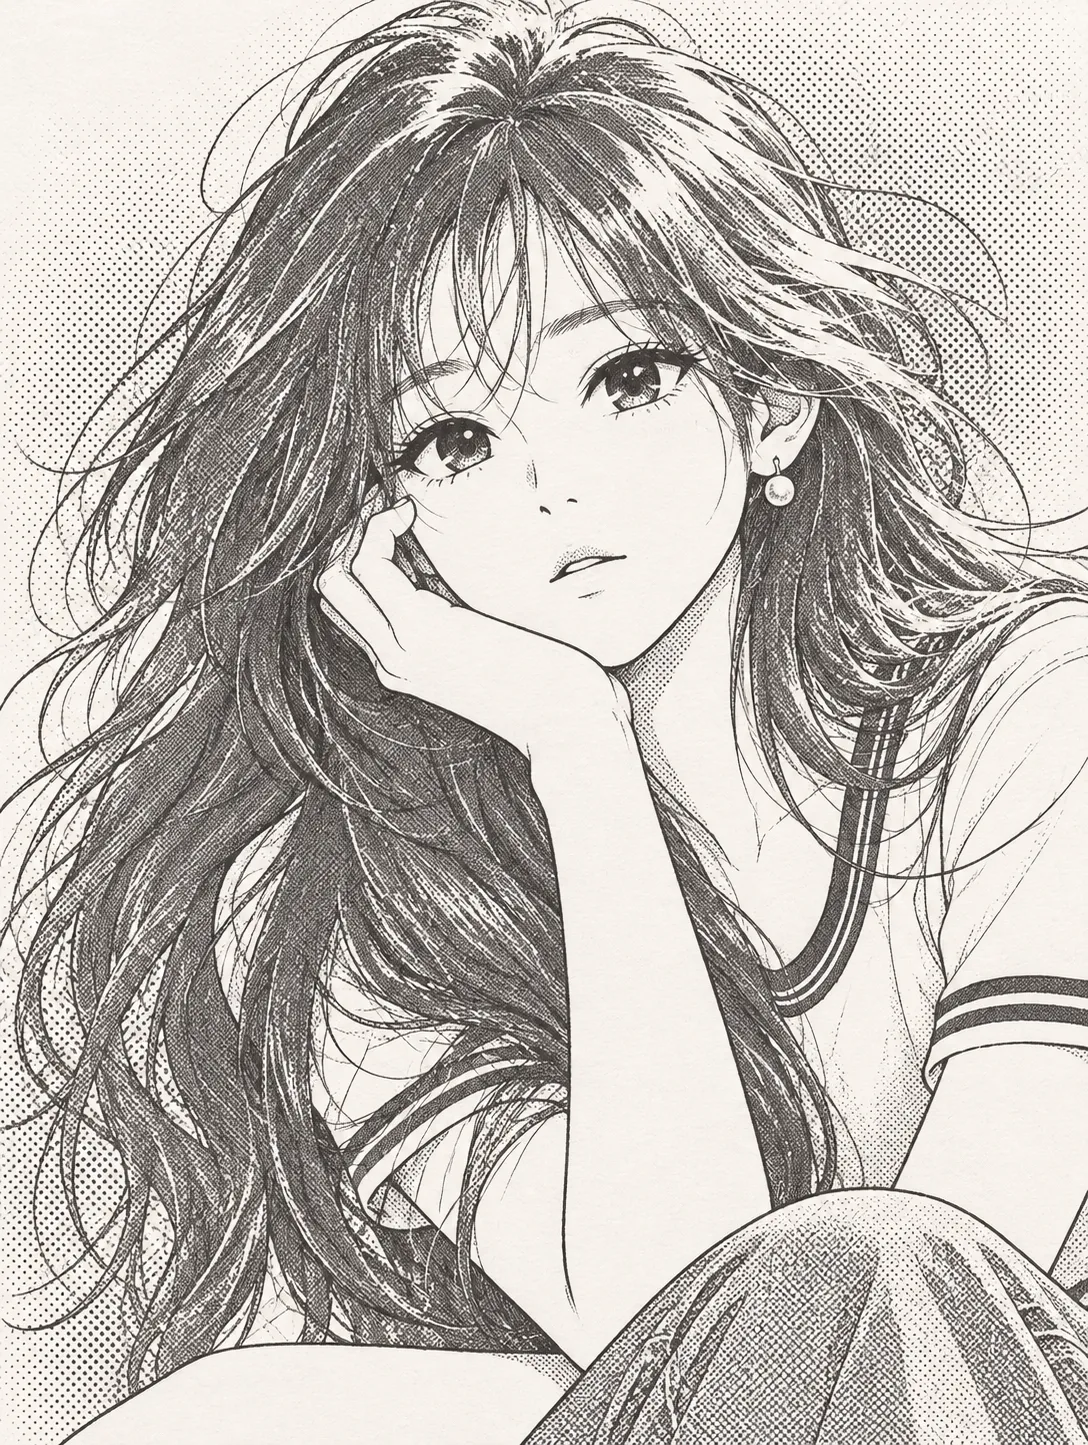
Turn a photo into a recognizable manga character sketch with clean pencil lines and traditional analog screentone.
Example outputs
Prompt template
- Format
- Text
- Inputs
- Uploaded_photo (image) · Required
- Outputs
- Manga_pencil_sketch (image)
Redraw the uploaded photo as a simple Japanese manga/anime pencil sketch: the clean pencil underdrawing a manga artist makes, finished with traditional cut-and-paste screentone applied by hand.

The subject must be fully transformed into an anime/manga character. This is not a realistic portrait sketch, a pretty realistic drawing, or a filter over the photo.

STYLE
- Make it look like a page from a Japanese anime character designer’s sketchbook or a manga artist’s pencil rough, finished with physical screentone sheets like a classic analog manga manuscript.
- The drawing should fit naturally inside a printed manga volume as a manga character.
- Use stylized anime facial construction, not realistic facial anatomy.

PRESERVE FROM THE PHOTO
- Keep the same composition, framing, camera angle, head tilt, gaze direction, and pose.
- Keep the same number of subjects. If a subject is an animal, keep it as that animal and draw it in a simple manga style.
- Preserve the hairstyle silhouette, outfit, and accessories, simplifying them into a few clean lines.
- Keep body proportions consistent with the photo. Do not make the subject chibi or elongate the proportions.

LIKENESS
- The person must remain recognizable as an anime version of themselves.
- Carry over distinguishing traits: eye shape (upturned, downturned, round, or narrow), eyelid type, eyebrow shape and angle, relative spacing of facial features, mouth width, and the overall impression of face width.
- Translate these traits into anime proportions: make the eyes moderately enlarged, about 1.3 times their original size, and reduce the nose and mouth to minimal marks. Do not retain realistic feature sizes.
- Do not replace the subject with a generic anime face. Preserve the expression from the photo.

MANGA FACE
- Most importantly, do not use realistic facial anatomy.
- Eyes: Draw them in an anime style, with one thick, dark upper lash line as a solid shape and a small flick at the outer corner; a large round iris with a dark pupil and one blank white highlight; and a lower lid drawn as one short thin line or two tiny marks. Do not include realistic eyelid-crease detail, rows of individual lashes, or tear ducts.
- Nose: Use only one tiny short stroke or a small ㄴ-shaped mark under the eyes. Do not draw nostrils, a nose-tip outline, or a nose bridge.
- Mouth: Use one short line. At most, add a tiny dash below it for the lower lip. Do not draw an upper-lip outline, full lip shapes, or parted-lip detail.
- Face contour: Use one smooth anime contour, a simplified cheek line, and a neat chin. Do not include cheekbones or jaw muscles.
- Eyebrows: Draw one thin, simple stroke for each eyebrow.

HAIR
- Draw the hair as large grouped clumps with sharp, pointed tips, typical of anime style.
- Use roughly 15–25 clumps for the whole head. Each clump should have an outline and 1–3 inner flow lines.
- Draw the bangs as a few separated, pointed clumps.
- Do not draw fine individual strands, dense wavy line texture, or scribbled hair.

LINE QUALITY
- Use thin, light graphite pencil lines on paper.
- Use mostly one confident, clean line per edge. A few faint secondary searching lines beside the main lines are allowed.
- A handful of very faint construction lines may remain, such as a light guide line or two on the body or a rough edge overshoot.
- The darkest lines should be the upper lash lines and pupils. Keep everything else light.

SCREENTONE
- Use classic analog manga screentone as the only source of tone: printed sheets of evenly spaced round black halftone dots, cut with a craft knife and pasted onto the paper. Do not use pencil shading.
- Use only 2–3 tone types: a light fine-dot tone with small dots at about 10–20% density; a medium dot tone at about 30–40% density; and, optionally, one dot-gradation tone that fades from dense to empty.
- Apply the tones as follows:
  - Hair: Apply medium dot tone over the hair clumps. Add a few thin, white curved highlights scratched off with a knife, following the hair flow.
  - Shadow areas: Apply light dot tone to clothing folds, under the chin, the neck shadow, and areas where limbs overlap.
  - Irises: Place a small patch of fine dot tone in the lower half of each iris, keeping the white highlight clean.
  - Background: Place one soft dot-gradation patch behind the upper body, fading out to white paper toward the edges.
- Keep the face skin and most of the face as clean white paper. Do not apply tone to the forehead, cheeks, nose, or mouth.
- Let tone edges follow the pencil lines but remain slightly imperfect, with tiny gaps or overlaps at the edges, occasional faint visible knife-cut lines, or a corner of a tone piece very slightly lifted or misaligned.
- Keep the dots crisp, uniform, and clearly visible at normal viewing size. Keep the dot-pattern angle consistent within each piece.
- Leave large areas of white paper. Screentone should cover no more than about 30% of the image.

SIMPLICITY
- Keep large areas inside the figure as blank white paper.
- For clothing, use outlines and only the main fold lines; render seams and details as single lines.
- Draw hands as simple anime hands with clean outlines and the correct number of fingers. Do not include wrinkles, knuckle detail, or nail detail.
- Do not use pencil shading, hatching, cross-hatching, smudged graphite tone, or soft gradients. Shadows must come only from screentone dots.

BACKGROUND
- Show empty paper apart from the screentone gradation patch described above.

PAPER
- Use plain white manga manuscript paper with subtle grain, viewed flat and straight-on.
- Let the sketch fill most of the sheet, with natural blank margins.
- Do not show hands, pencils, knives, a desk, or other objects around the paper.

AVOID
Realistic or semi-realistic faces, realistic eyes, double-eyelid crease detail, individual eyelashes, nostrils, a nose-tip outline, full lips, an upper-lip outline, realistic facial anatomy, fine hair strands, dense hair texture, pencil shading, hatching, heavy graphite, digital gray fill, smooth airbrush gradients, tone on facial skin, tone covering the whole image, finished inked line art, color, digital painting, a 3D look, extra people, changed pose or angle, text, signature, or watermark.
What you'll create
The source subject becomes a true manga character drawn in clean rough pencil lines. Traditional cut-and-paste screentone adds selective texture while the original pose and camera angle remain recognizable.
Frequently asked questions
Is this a realistic pencil portrait?
No. The source requires a full manga-character transformation.
Should screentone cover the whole image?
No. The prompt rejects overall tone coverage and tone on facial skin.




Comments
Tried this prompt? Share what you made, compare results, or ask a question