- Category
- Design & Image
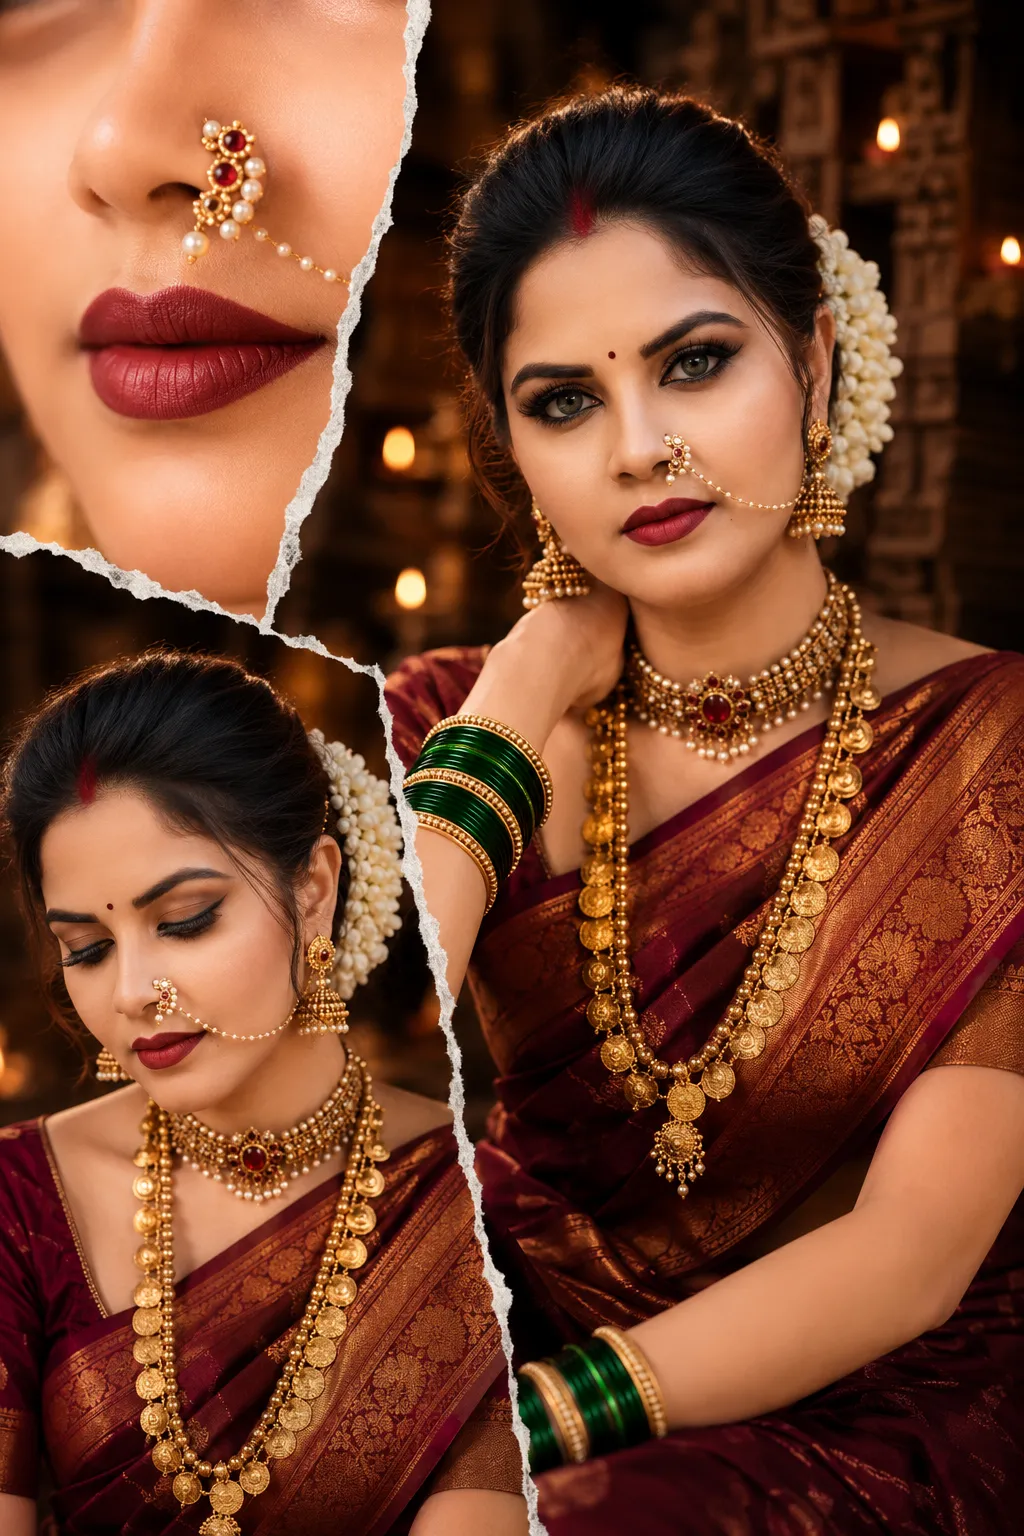
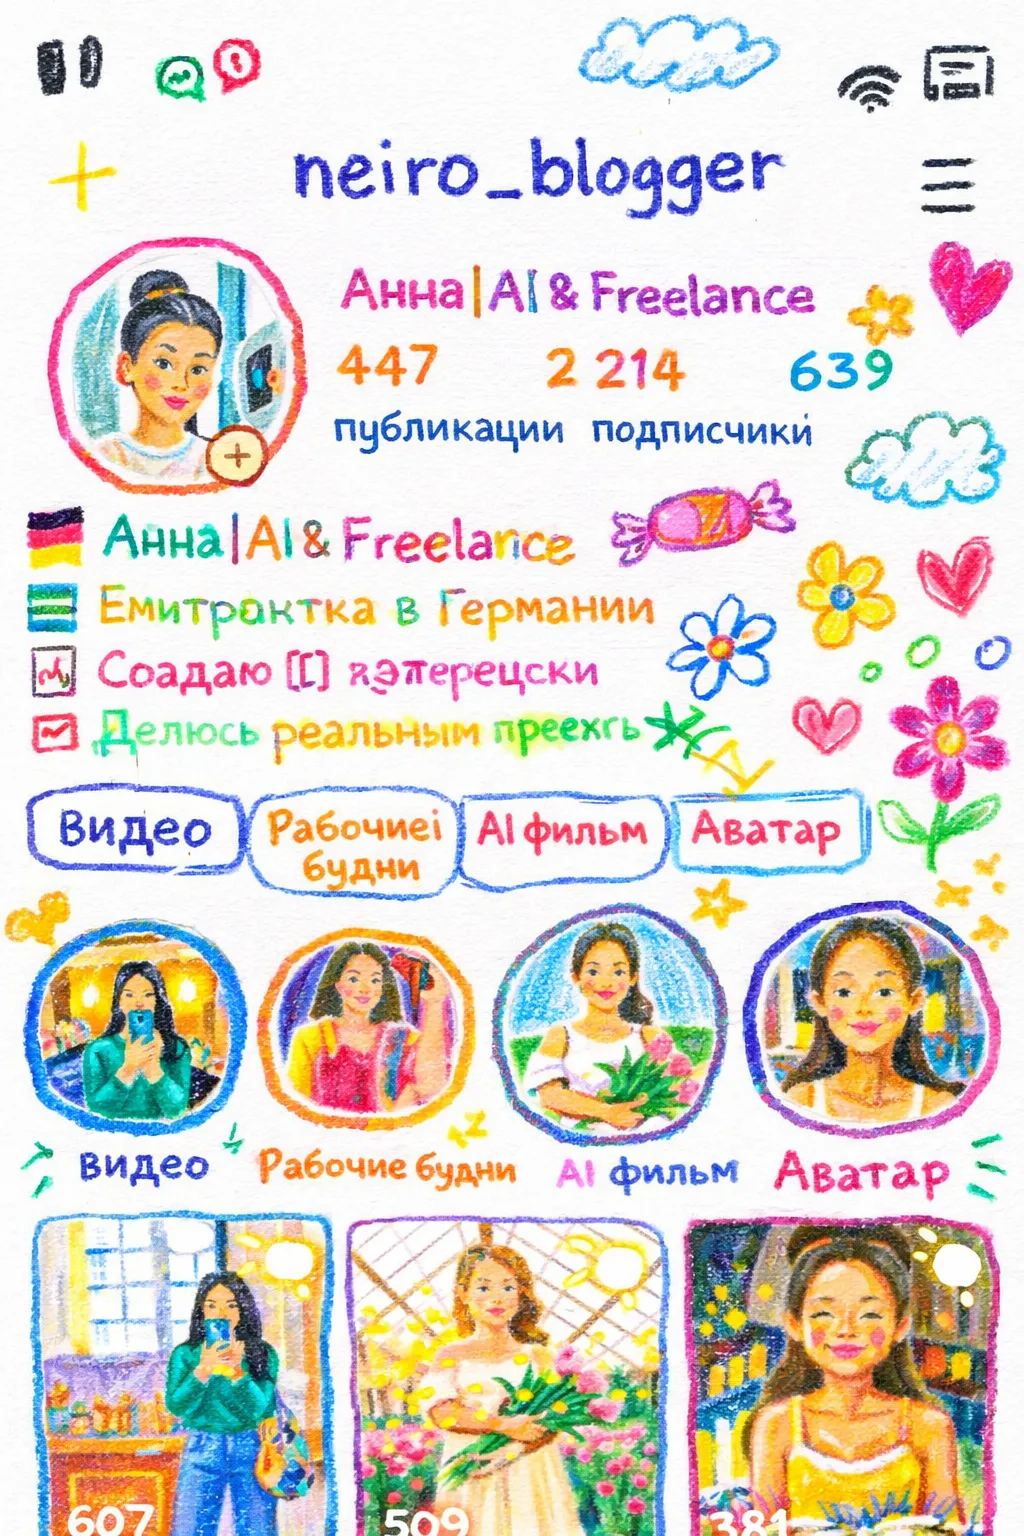
Split-Page Photo and Crayon Paper Collage
Create a single 3:4 portrait page pairing an unchanged reference photo with a small, expressive crayon-and-torn-paper drawing.
By Threads — Published on — Modified on
Example images


Prompt template
0 copies
- Format
- Text
- Inputs
- Reference_photo (image) · Required
- Outputs
- Finished_page (image)
Use the uploaded photo as the reference image and create one 3:4 portrait page. Output exactly one image. Do not make a collage, grid, or multiple variations.

Divide the page vertically into two sections of exactly equal height, separated by one straight horizontal line running from edge to edge. Do not add a frame, rounded corners, shadows, or a border line.

The paper should look almost blank. The crayon drawing should be about the size of a palm, leaving the rest of the paper empty. A few torn pieces of colored paper should overlap the crayon marks.

TOP SECTION
Keep my photo as it is. Do not redraw it, apply an art style, or change its subject, pose, proportions, or lighting. Apply only very restrained color grading so it looks like an image printed in a magazine. If the photo does not fill the available space, naturally extend the surrounding environment rather than stretching or distorting anything inside the frame.

BOTTOM SECTION
Use warm-toned paper for the lower section, with one small hand-drawn image on it. First study the photo and identify what is genuinely memorable about it: the main subject, the relationships between elements, the direction of movement, and the mood. Draw only those essentials. Do not copy the photo object by object or fill the paper with the drawing.

Make the paper warm kraft paper, recycled paper, or thin handmade paper, with visible fibers and grain. Keep it clean: no stains, scratches, artificial aging, or coffee marks.

Keep the subject small, as if stamped once onto a large sheet of paper. Leave most of the page empty. Treat the blank paper as part of the composition. Place the drawing off-center, near an edge, or slightly above or below center; let the negative space balance the drawing. Remove rather than fill.

Draw with chalk and crayon. Vary the line weight. Keep the pigment dry and rough, with broken and skittering strokes, contours that are not always closed, and small, honest tremors of the hand. Suggest structure with short repeated strokes, light crosshatching, and a few smudges. Do not render solid forms in 3D, shade smoothly, or trace crisp outlines. It should look quickly drawn on rough paper by someone who knows how to draw—not like a careless scribble, but not like a finished illustration either.

Make part of the drawing from torn paper rather than crayon. Construct small parts of the subject and one or two supporting shapes from small pieces of colored paper, with their torn, fibrous edges visible. Layer them over the crayon so the layers are clear. Use this sparingly, to summarize rather than decorate.

Scatter only a few tiny marks around the drawing, such as a couple of stars, one flower, a few wavy lines, a small arrow, or a single dot. Let them reflect the mood of the photo. Keep them very small; they must not become a second focal point.

COLOR
Choose two to four of the liveliest, friendliest colors in the photo and remix them as soft pastels: cream pink, peach, pale sky blue, mint, soft yellow, or muted lilac. Add highlights with white or cream-colored strokes. The result should feel bright, warm, and lively, and should stand clearly apart from the paper in brightness or hue so the drawing does not sink into the background. Avoid muddy browns, dull Morandi tones, neon, and plastic candy colors.

LETTERING
Place two short fragments of lowercase English text on the paper, each three to four words long. Use a light typewriter-style face with slightly uneven letter spacing, as if typed on an old machine. Derive the phrases from the photo's mood, action, or memory; do not use a fixed title formula. Set them quietly within the blank paper, near the drawing or following the direction of movement in the image. Do not center-align them. Do not add a headline, date field, caption bar, numbered label, or logo.

FAILURE CONDITIONS
The image is wrong if any of the following apply:
- The two sections are not exactly the same height, or their boundary is not one straight horizontal line.
- The lower section copies the photo literally, or the drawing covers most of the paper.
- The subject in the lower section cannot be immediately connected to the photo above.
- The drawing is smoothly rendered, vector-clean, or has closed contours, 3D shading, or gloss.
- The drawing has the same brightness as the paper and disappears into it.
- Any non-English characters, misspellings, or garbled lettering appear anywhere on the page.
- Visible text, signs, numbers, or logos from the original photo are reproduced in the lower section. Omit them entirely or replace them with solid shapes without lettering.
- A signature, watermark, artist credit, or brand name appears anywhere.
- The lower section looks like a children's worksheet, sticker pack, scrapbook template, or advertising poster.


Comments — 0