- Category
- Design & Image
Reeded Glass Art Photo Poster
Transform an uploaded image into a two-part poster with a faithful original-photo top half and a refracted reeded-glass treatment below.
By Threads — Published on — Modified on
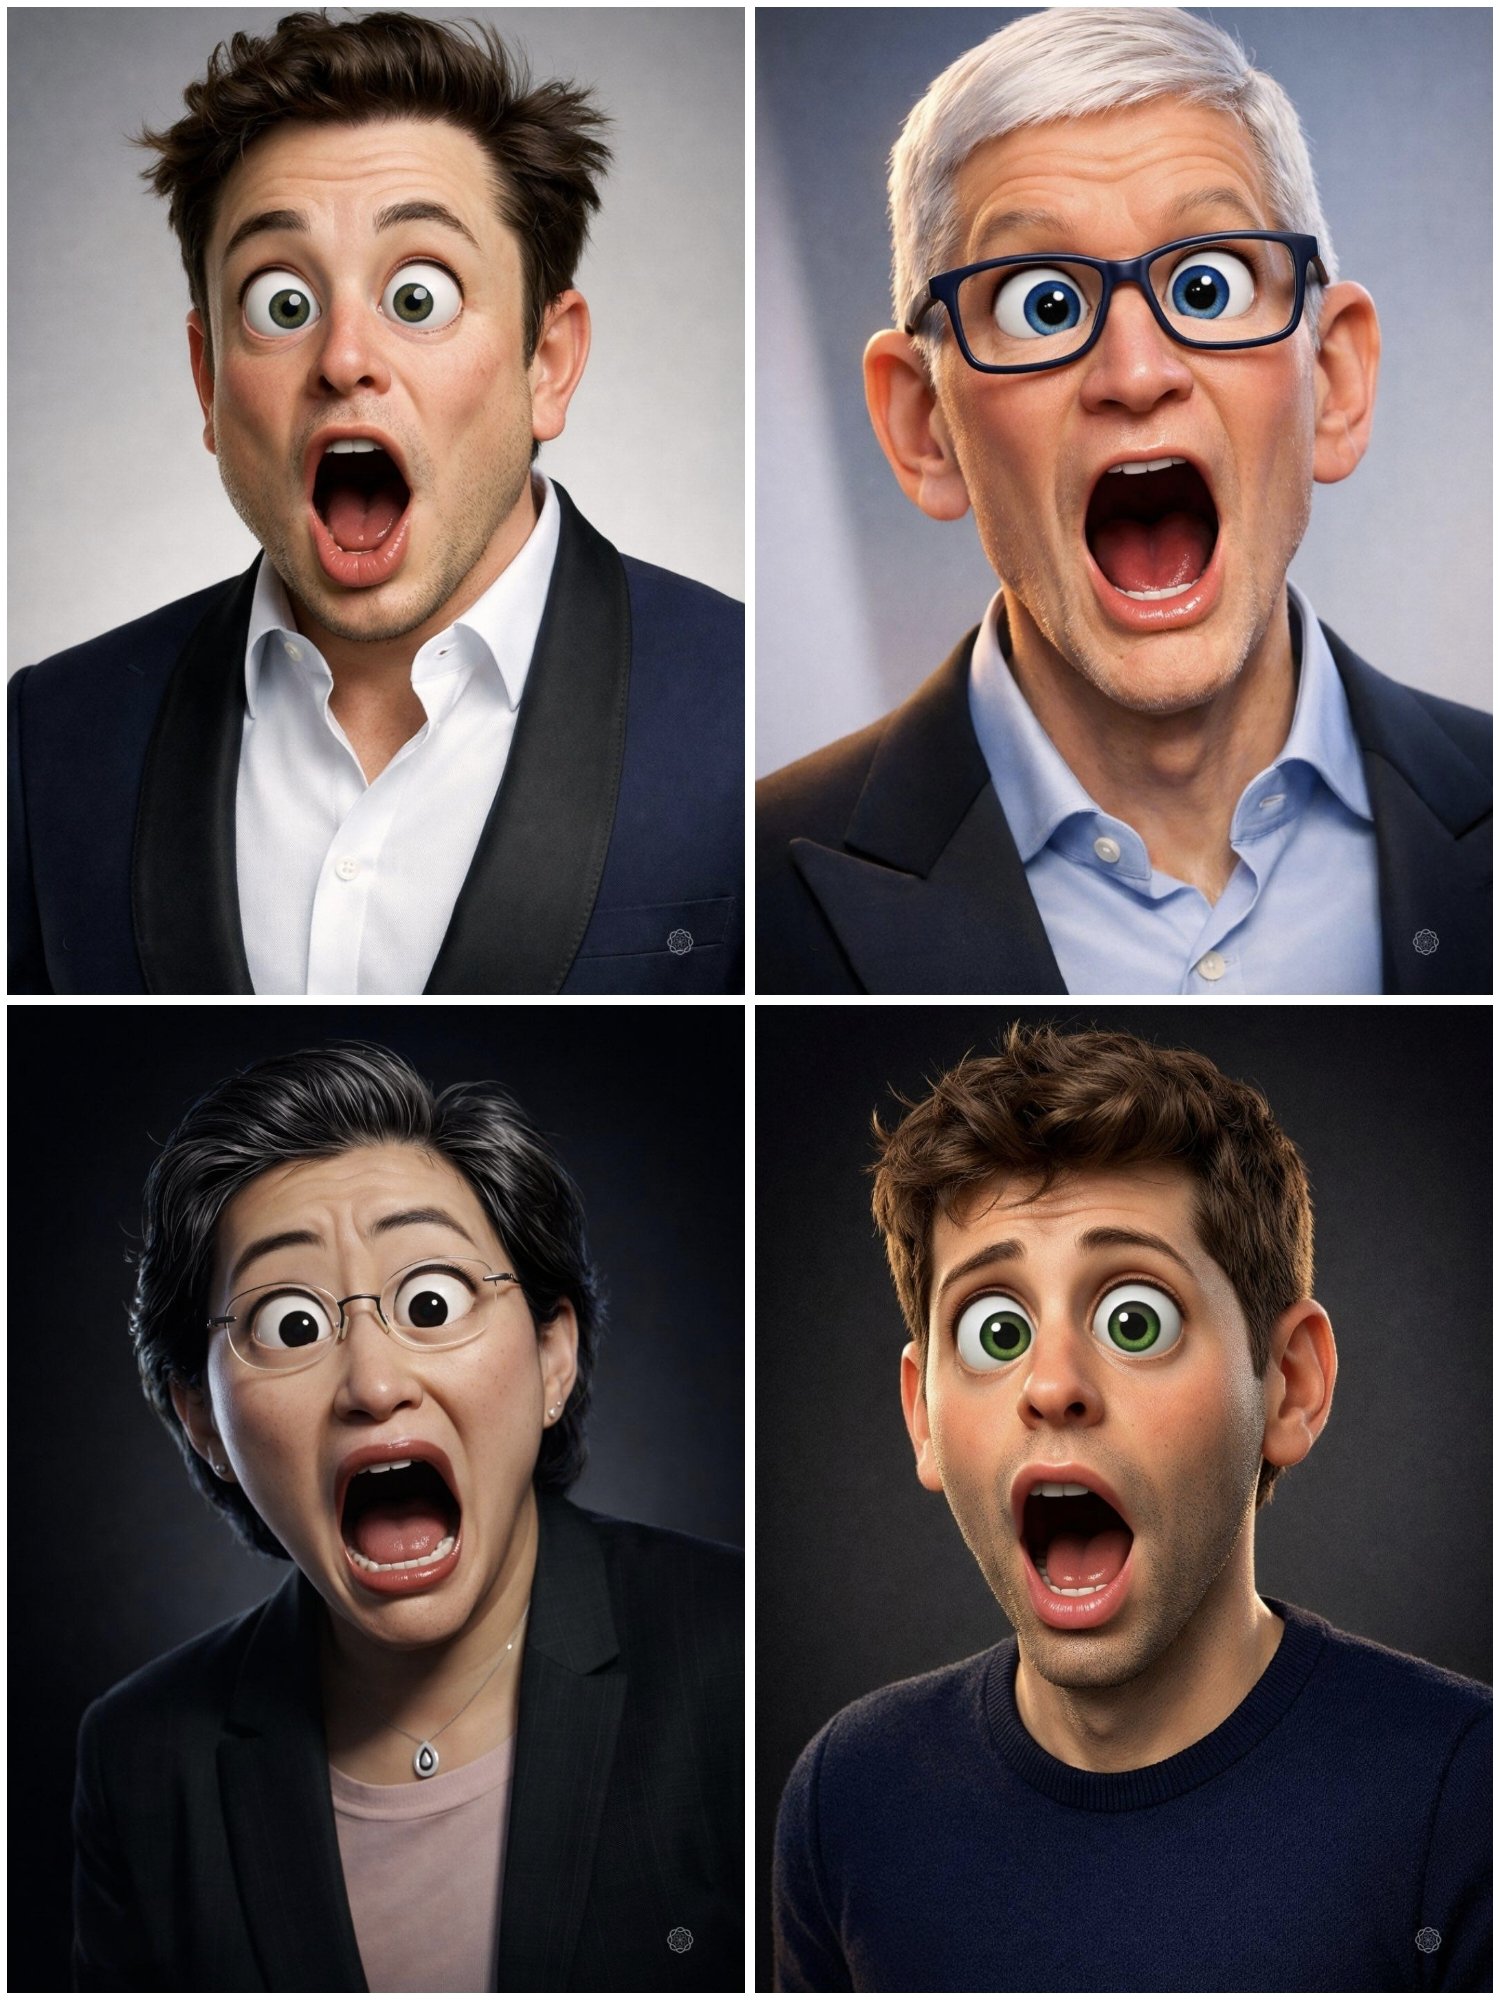
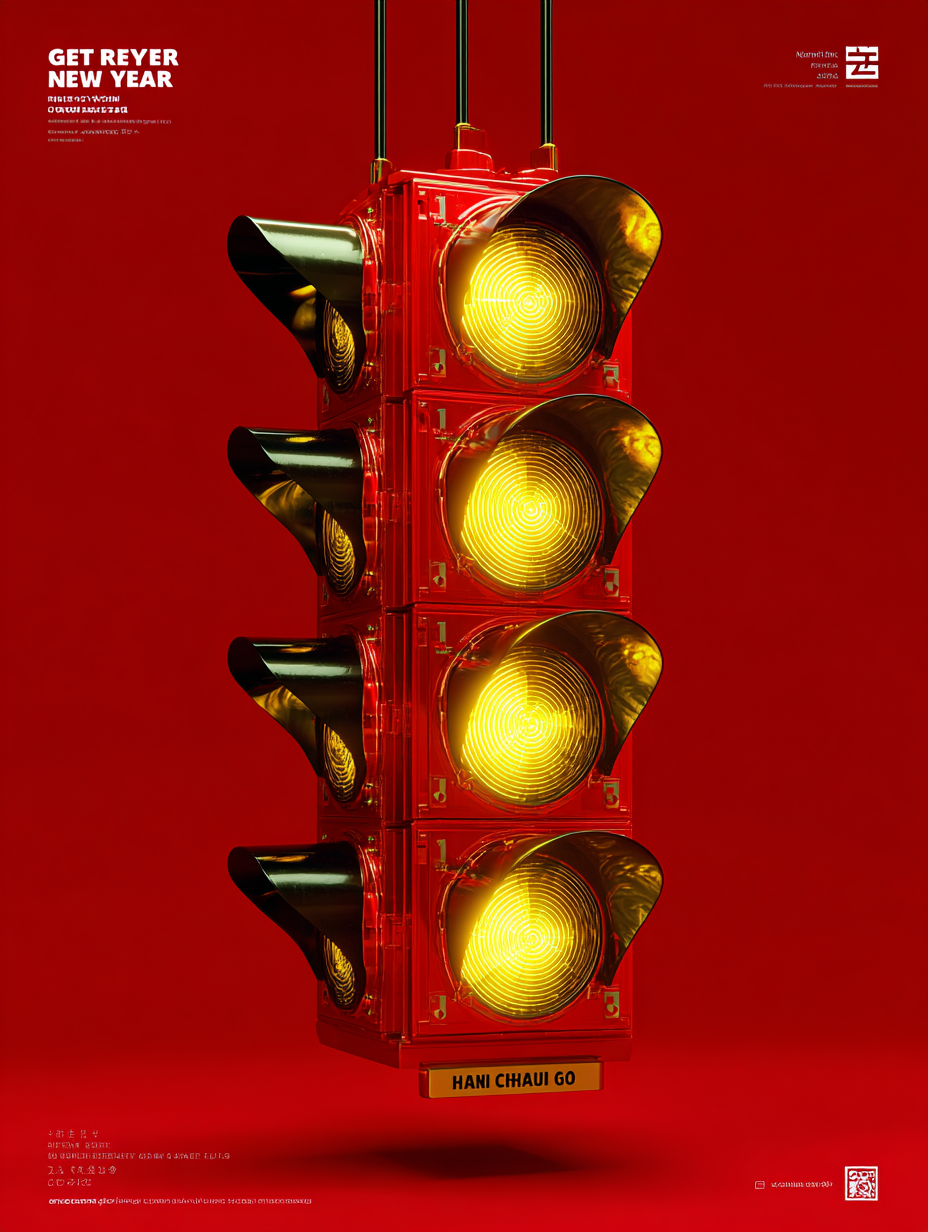
Example images


Prompt template
- Format
- Text
- Inputs
- Source_image (image) · Required
- Outputs
- Edited_poster (image)
Create a separate poster from the uploaded image. Do not make a collage. Divide the image into two equal horizontal sections, each occupying exactly 50% of the canvas.

Top half: Preserve the corresponding original photograph in full. Keep the identity, facial features, eyes, expression, hair or fur, clothing, actions, and poses of any people or animals unchanged. For flowers, plants, architecture, landscapes, vehicles, and still-life subjects, do not alter their outlines, structures, positions, materials, perspective, surroundings, depth of field, natural lighting, or color relationships. Only apply subtle, refined color grading and exposure optimization, and naturally extend the background if needed. Do not stretch or distort the image, replace the subject, or add unrelated elements. Include no text in this section.

Bottom half: Preserve the subject's identity, key structures, pose, spatial relationships, and original colors. Cover the entire section, from its top edge to its bottom and across both side edges, with one continuous, full-coverage sheet of ultra-dense, ultra-fine vertical reeded glass. The texture must run strictly vertically and be approximately three to five times denser than ordinary reeded glass, forming a very fine, continuous micro-optical grating. Give the glass realistic variations in transparency, soft highlights, edge reflections, light transmission, and layered refraction. Do not make it look like striped stickers, ordinary blinds, rain-covered glass, motion blur, or a simple digital filter.

Refract the subject and background through vertical wave distortion, displacement, stretching, prism splitting, and elongated color bands, without incorrectly changing the subject's physical structure. Automatically identify the visual focal point in the source image: a person's or animal's eyes and face, a flower's center, a defining architectural feature, the focal point of a landscape, or the core detail of a still-life subject. Keep the glass over the focal point, but make it approximately 85–95% visually transparent there, with weaker refraction so key identifying features remain clear. Increase refraction smoothly from the center toward the edges; avoid hard circular or rectangular boundaries or obvious masks. At the perimeter, create dense vertical light bands, shape splitting, and abstract light patterns at approximately 75–95% intensity, while preserving the source image's overall composition and recognizable color palette. Do not let the subject disappear, repeat, break apart, or develop misaligned facial features or deformed limbs.

Derive the background and refracted colors from the source image. You may use low-contrast environmental tones such as creamy white, warm beige, light gray, or a soft gradient. Use soft commercial-photography lighting that emphasizes realistic glass texture. Avoid blown-out reflections, neon colors, chaotic light spots, and cheap-looking effects.

Add a small amount of meaningful English text, such as a title, a brief subtitle, or a number. Use a thin, high-contrast serif typeface with small, simple sans-serif text. Arrange the typography in a freely composed, asymmetrical layout that does not obscure the subject's focal point. Do not include garbled text, pseudo-English, or a watermark.





Comments — 0