Experimental Art Diptych Poster from a Photo
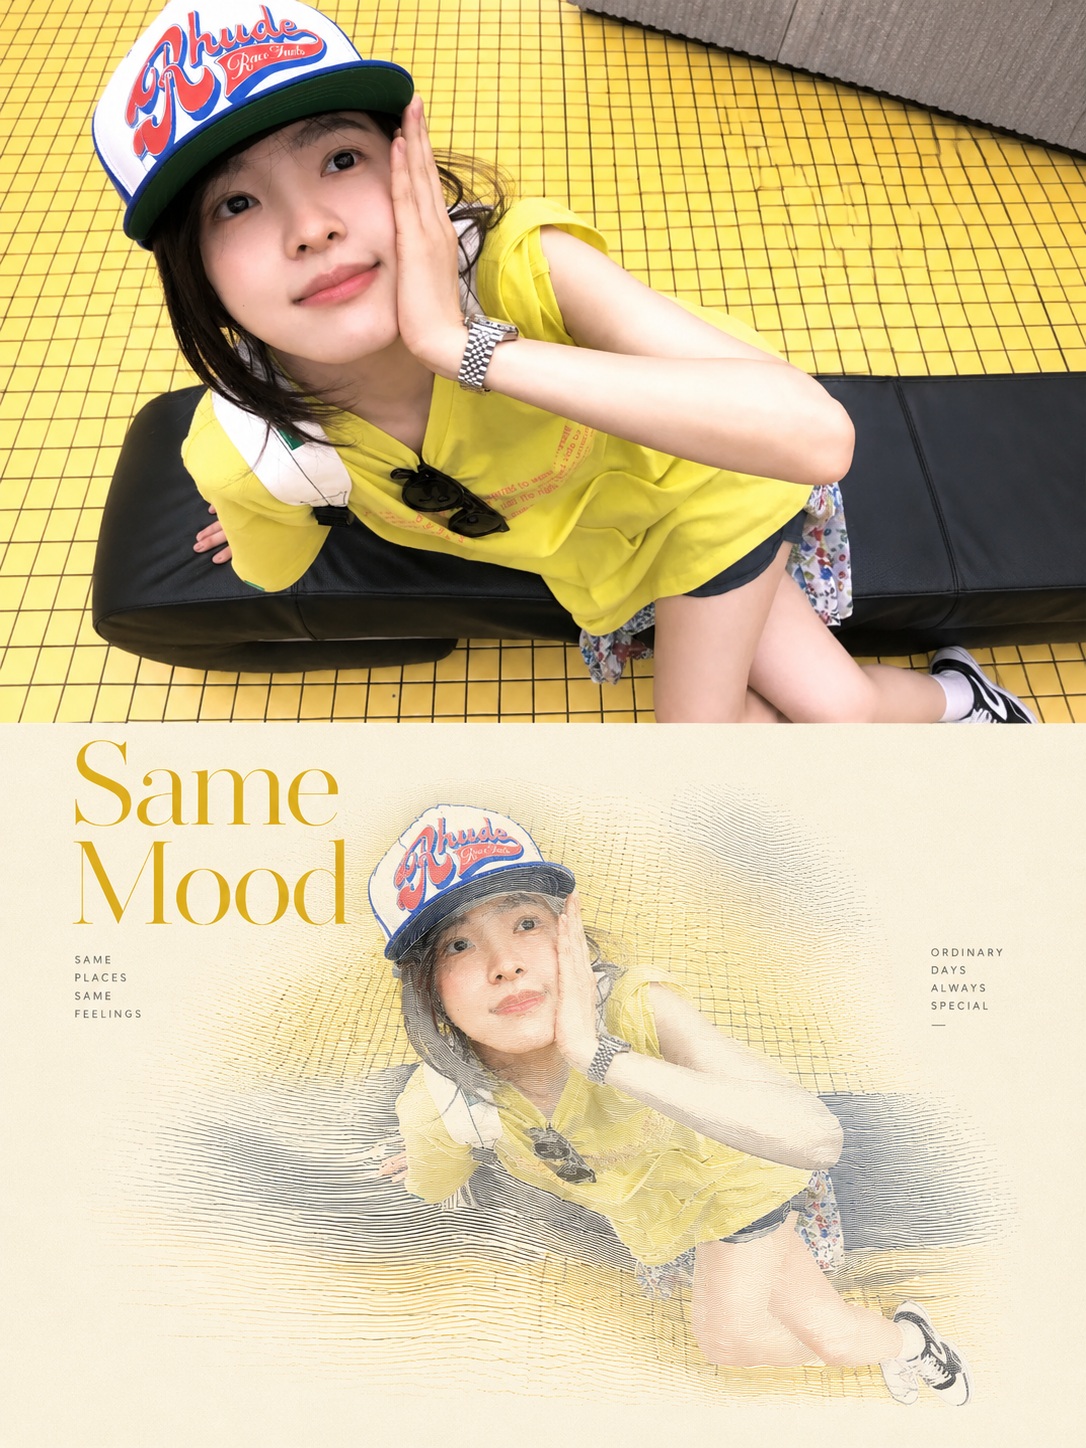
Transform a reference photo into a vertical editorial-style diptych poster, preserving the original photo above and reinterpreting it as a fluid line sculpture below.
Example outputs
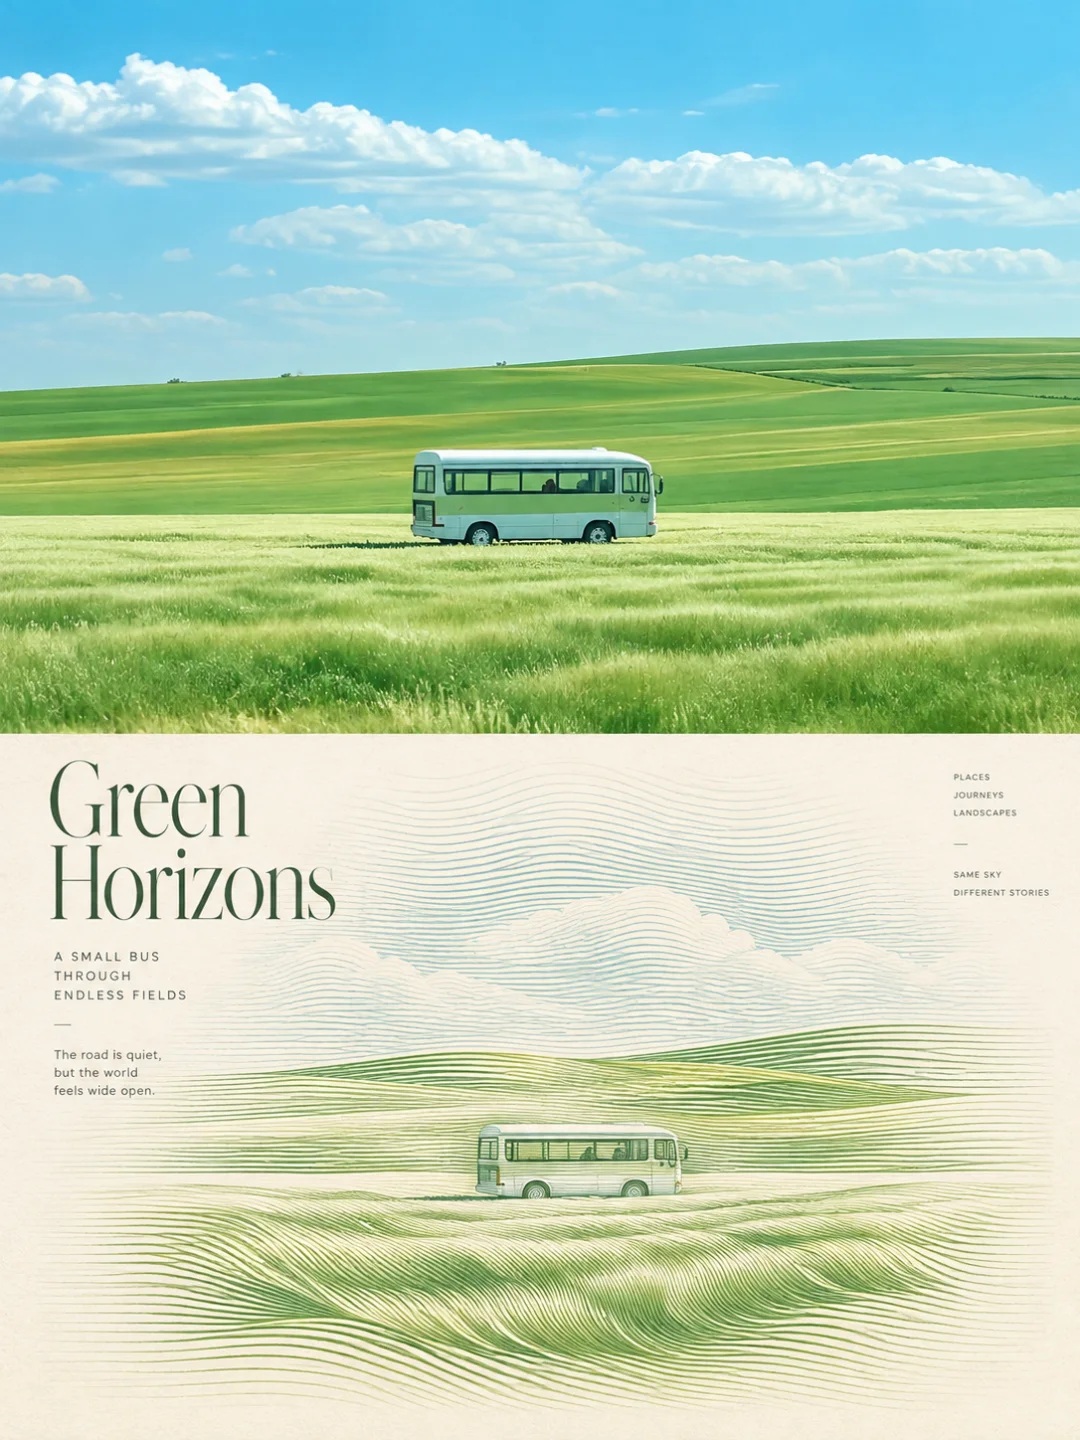
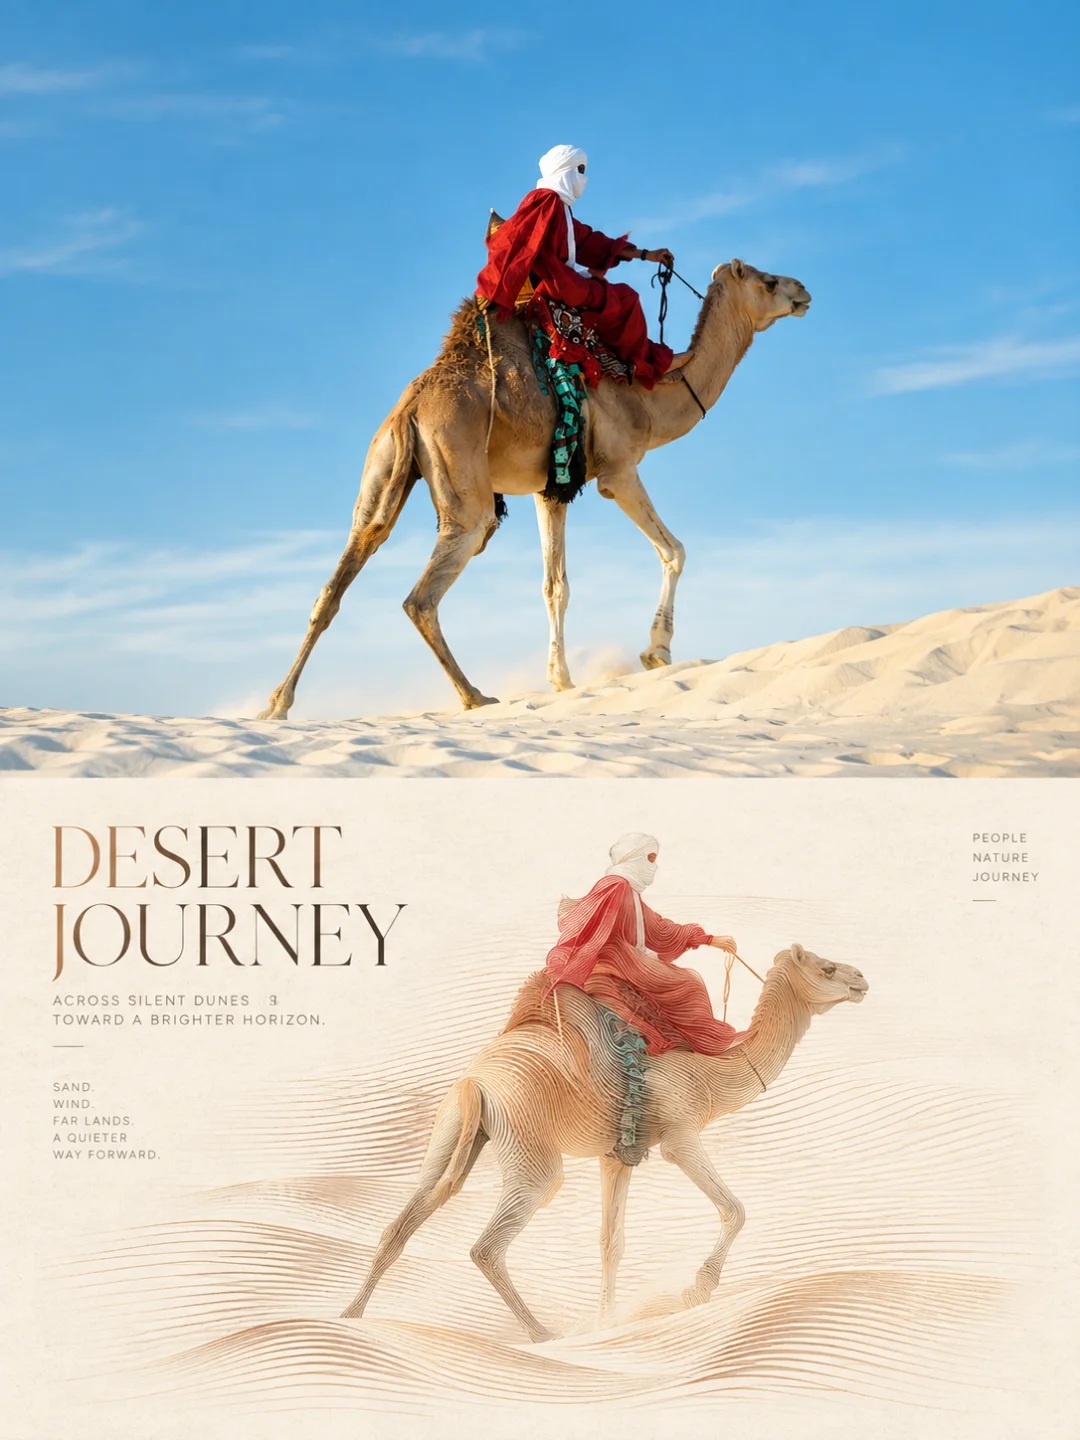
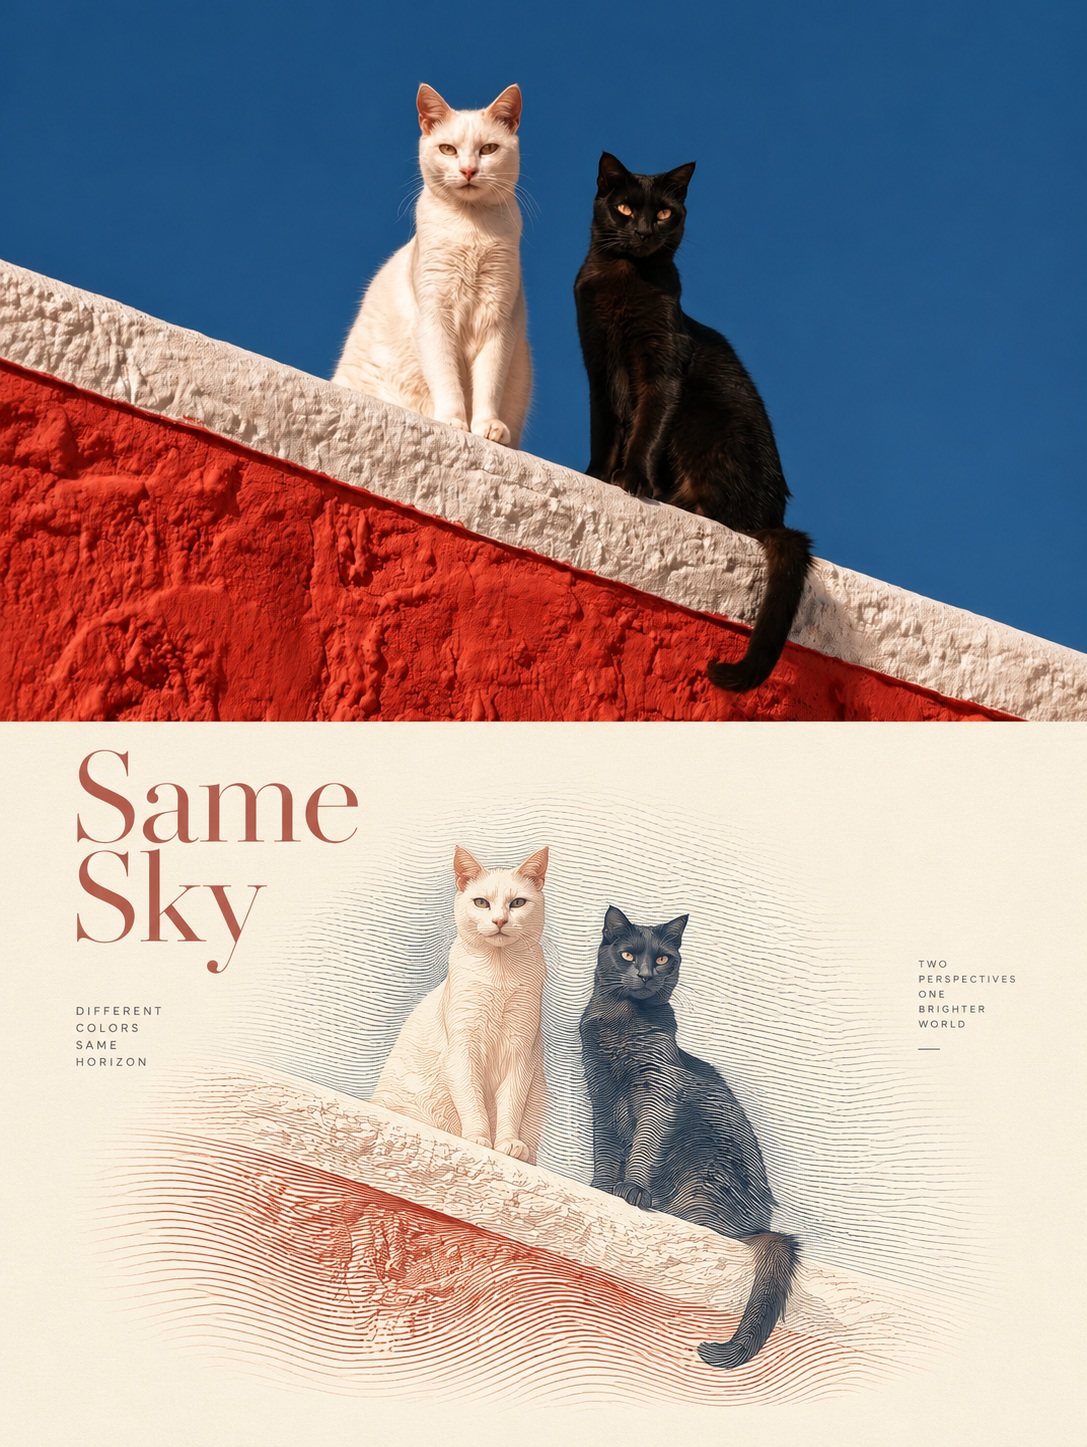
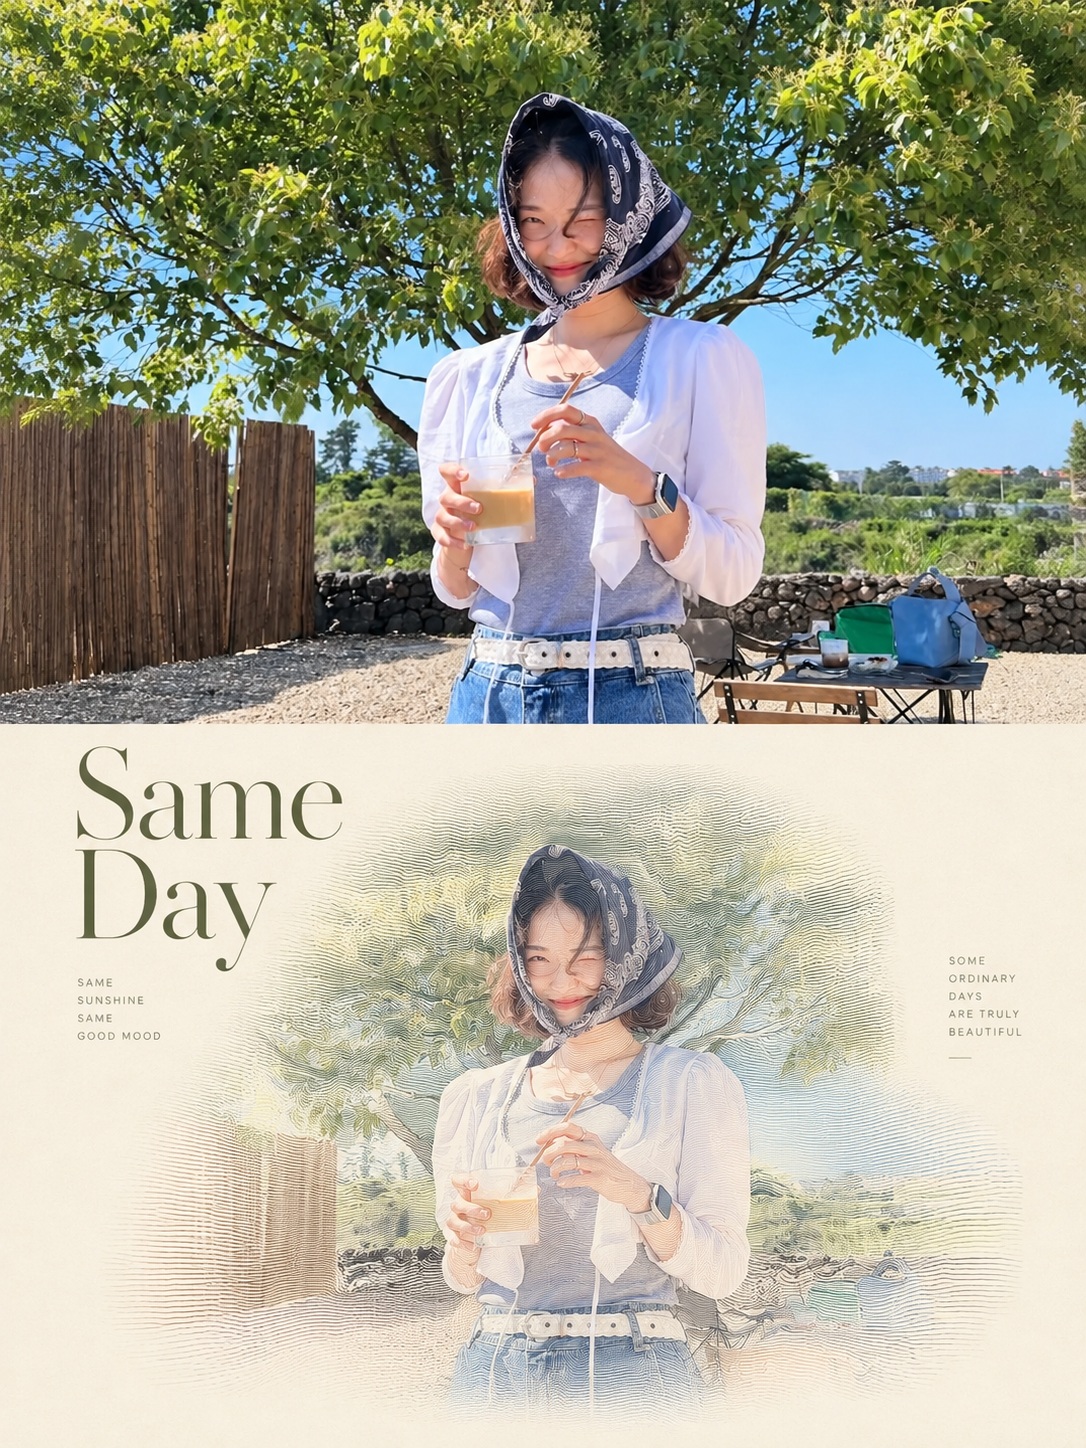
Prompt template
- Format
- Text
- Inputs
- Reference_photo (image) · Required
- Outputs
- Poster (image)
For each uploaded reference photo, independently generate one sophisticated experimental art diptych poster. Do not combine or blend multiple photos. Use a strict 3:4 vertical canvas divided into equal 1:1 upper and lower sections, each occupying 50% of the canvas, joined naturally at a straight horizontal boundary. Do not add a border, card, tape, torn paper, curled edges, or collage shadows. Blend the aesthetics of independent art magazines, experimental graphic design, generative art, vintage printmaking, and minimalist editorial design. Keep the result quiet, light, restrained, and spacious.

In the upper section, preserve the original photo in full. Do not change the identity, number, outline, structure, position, pose, clothing, surroundings, composition, proportions, perspective, materials, depth of field, relationships between light and shadow, or color relationships of any subjects, including people, animals, plants, architecture, landscapes, and still lifes. Only make subtle photographic color adjustments, optimize exposure, and naturally extend the background. Do not stretch, distort, move, replace, redraw, add, or remove any elements. Let the original photo fill the entire upper section, extending to the top and side edges and to the dividing line, while preserving its delicate, authentic photographic quality.

In the lower section, use only the same original photo as the reference. Extract the most recognizable contours, pose, spatial relationships, palette, and visual center of gravity, and reinterpret them as a fluid raster-line sculpture. Do not depict the subject using outlines, fills, or pasted-on lines. Instead, let the subject emerge naturally from continuous, parallel, extremely fine, flexible curves. As the lines approach the subject, bend them smoothly, gather them, vary their spacing and density, and expand them slightly to suggest subtle embossed volume. Farther away, let them gradually return to a straight, parallel, evenly spaced, quiet field of lines. The subject, background, and negative space must share one continuous line structure. Do not use separate outlines, closed contours, color blocks, wireframes, or solid 3D objects.

Make both ends of each line extremely fine and its middle slightly thicker, with a natural continuous variation in width, like precise engraved lines. Shape the relief with soft Bézier-like curves. Let the lines turn naturally around edges, raised areas, and recesses, with subtle transitions in thickness and spacing. Avoid heavy mechanical stripes, sharp corners, angular or zigzag lines, serrations, hard kinks, complex intersections, breaks, and random ripples. Even sharp forms in the original photo should become rounded, flowing curves.

Scale the line sculpture in the lower section down by about 70%, so it occupies only 20%–35% of that section. Center it, or shift it slightly to follow the original photo’s visual center of gravity. Leave generous empty space around it in warm white, cream, ivory, or light warm-gray paper tones. Extract one or two low-saturation dominant colors from the original photo, and use line density, spacing, thickness, and tone to express light and shade. Do not use realistic lighting, hard shadows, metal, plastic, plaster, or the material appearance of a real bas-relief. You may add very subtle printmaking grain, paper fibers, and ink texture without compromising line precision.

In the empty areas, add a small amount of real, readable English text related to the photo’s subject: a title, subtitle, and tiny supporting text. Do not use numbering, gibberish, fake English, watermarks, or brand marks. Set the title in a delicate, high-contrast Didot-, Bodoni-, or Didone-style serif. Use a simple sans-serif in small type for supporting text. Arrange the text freely and asymmetrically without obscuring the subject. Output exactly one high-resolution, vertical 3:4 poster.
What you'll create
The upper photo retains its identity while a lower art treatment evokes independent magazines and vintage printmaking. Spacious asymmetric text stays clear of the focal subject.
Frequently asked questions
Can photos be merged across inputs?
No. Each receives an independent poster.
What overall visual density is intended?
Quiet, light and spacious rather than crowded.


Comments
Tried this prompt? Share what you made, compare results, or ask a question