Rubber-Stamp Print Contrast Poster
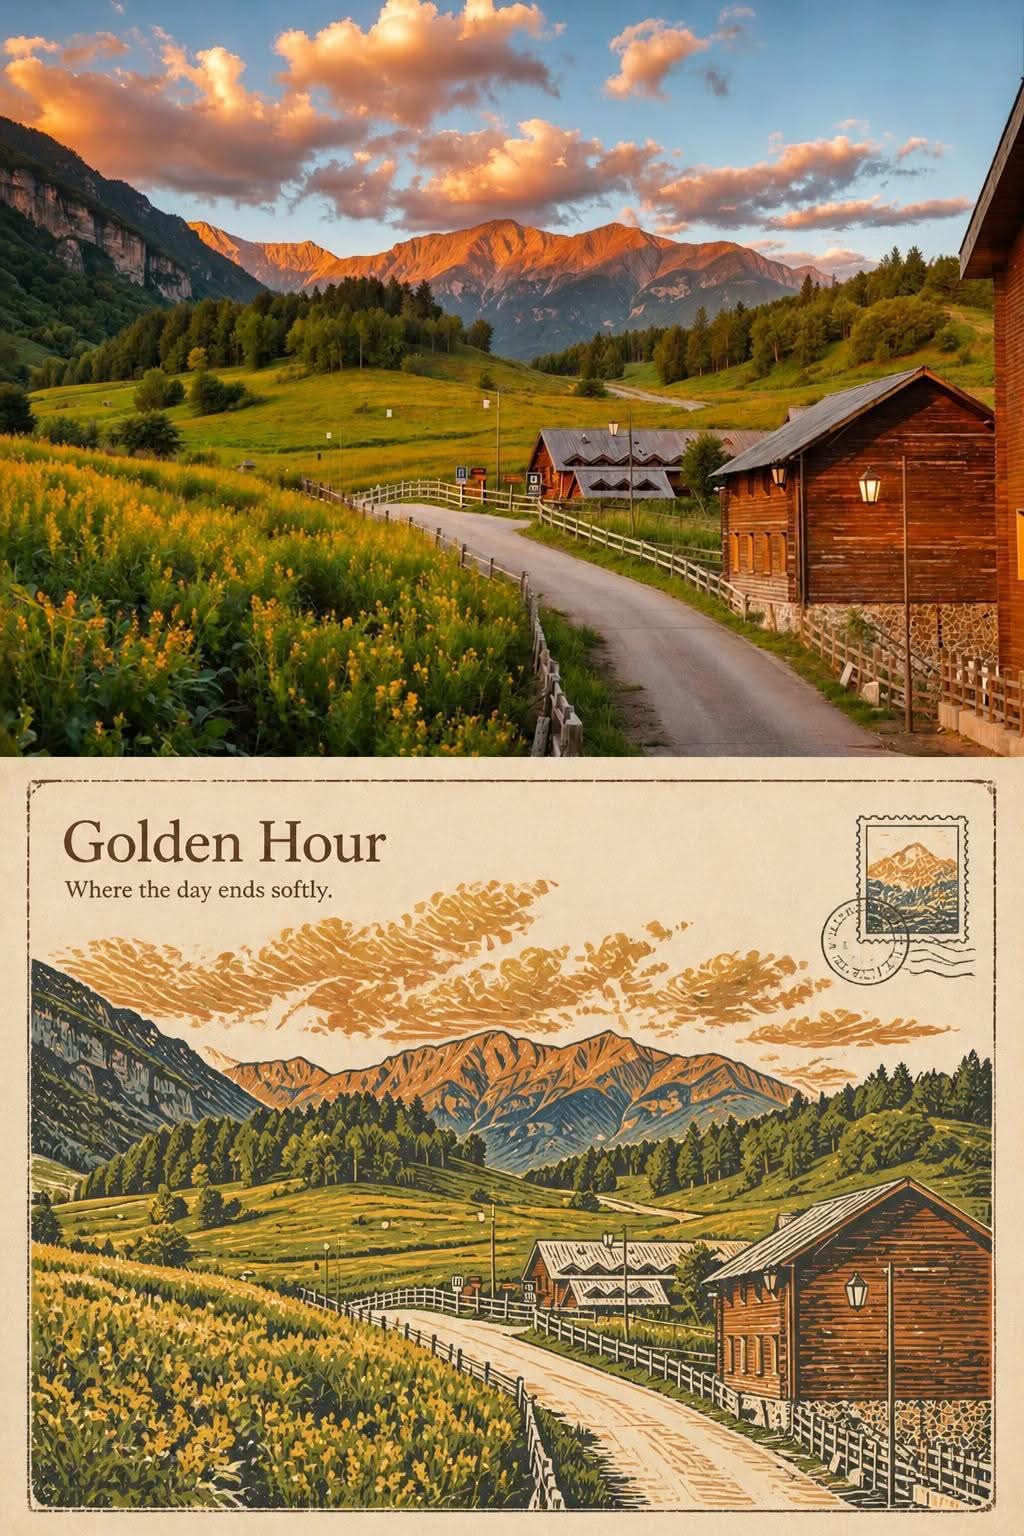
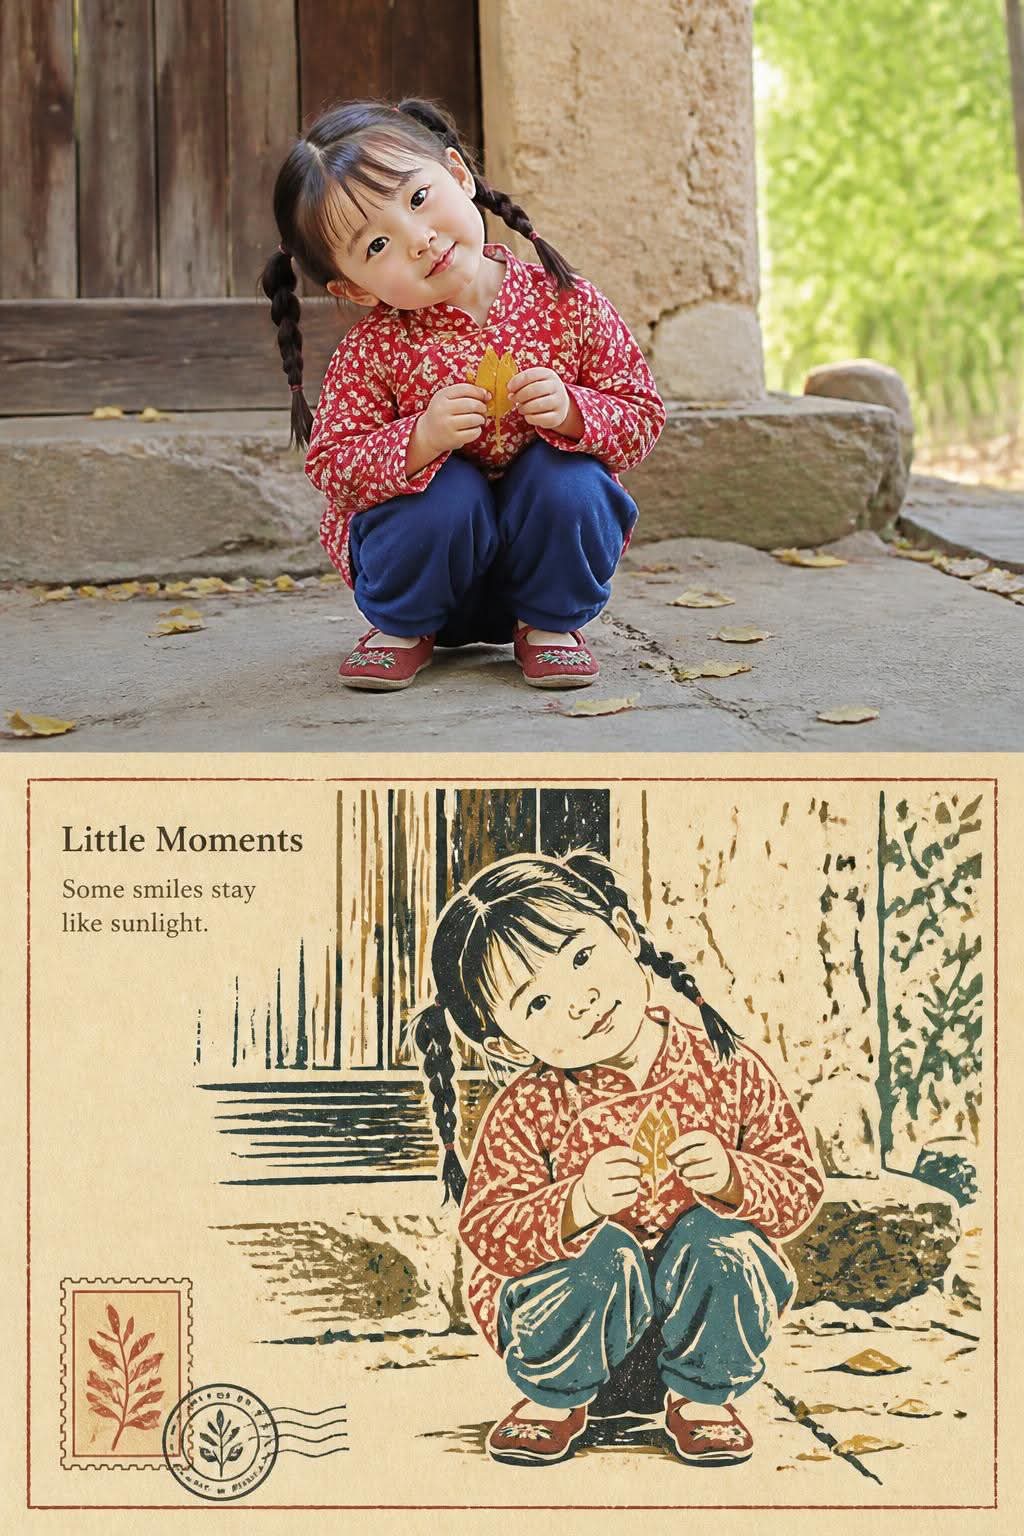
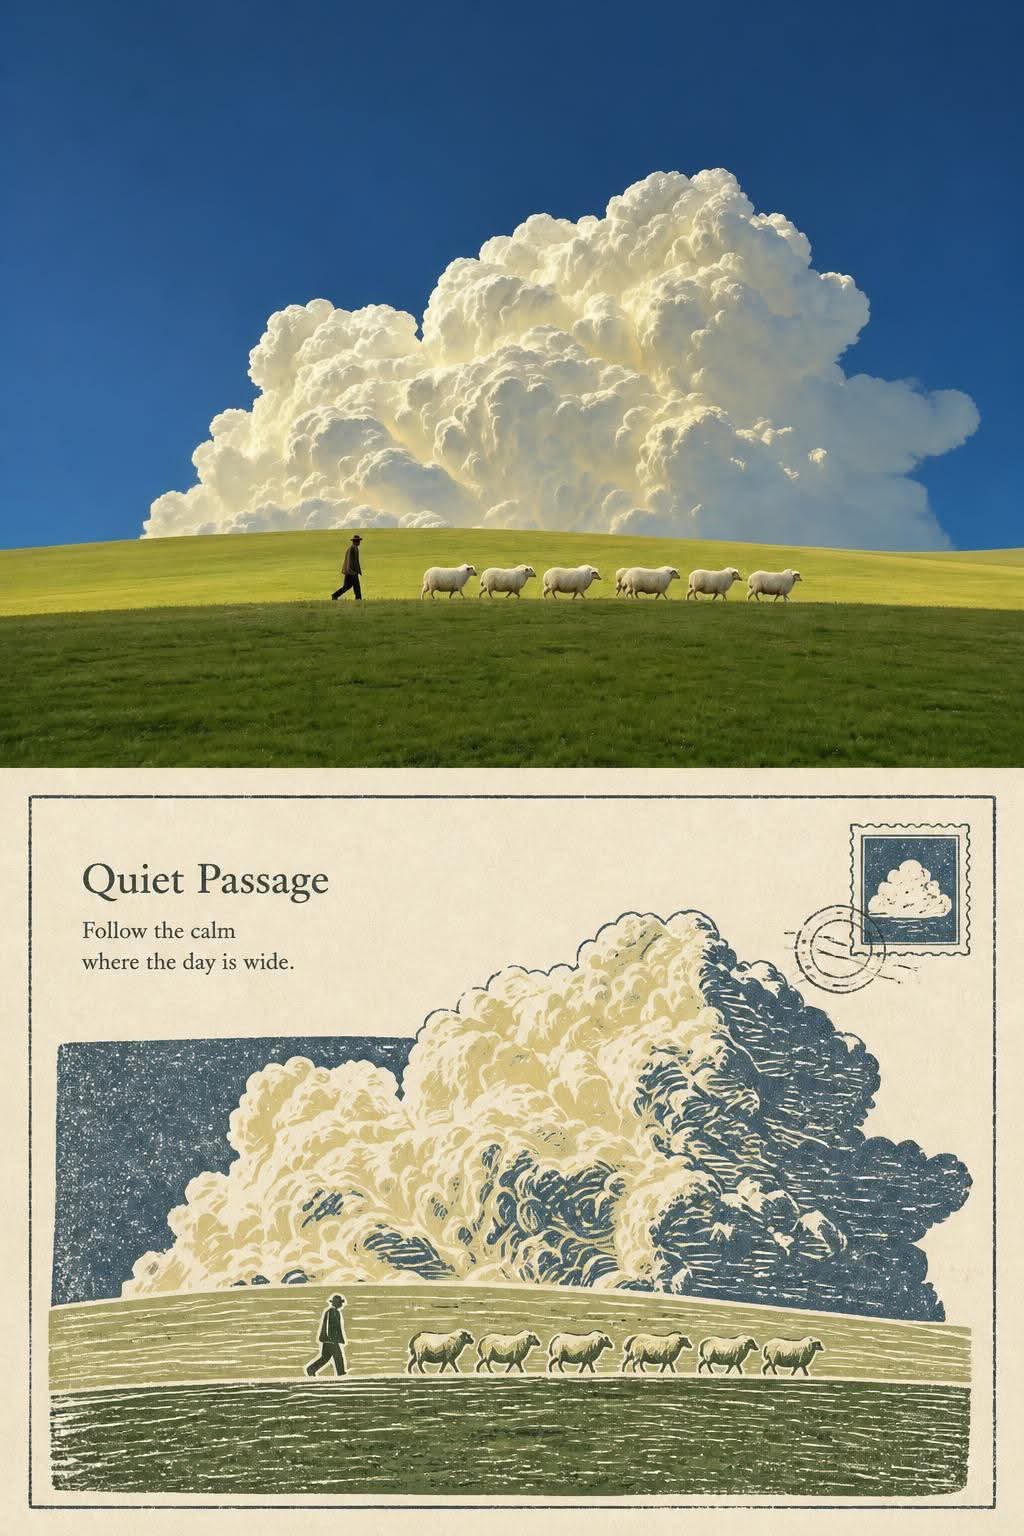
Create a vertically split poster pairing each input photograph with a matching rubber-stamp print design.
Example outputs
Prompt template
- Format
- Text
- Inputs
- InputPhoto (image) · Required
- Outputs
- ContrastPoster (image)
For each input photo, create a separate photographic-and-design contrast poster. Do not combine different photos. Adapt the design to the subject and scene in each photo; do not impose a fixed theme.

**Canvas and layout**
Use a vertical 3:4 canvas, divided strictly in half horizontally, with each section occupying 50% of the total height. The upper section is for photography and the lower section is for the design. Join the sections directly with a clear horizontal boundary: no gap, gradient, feathering, or overlap. Keep all design elements and text within the lower section. Do not add canvas area for the title. Recommended output size: 1200 × 1600 pixels, with the upper section at y=0–799 and the lower section at y=800–1599. For other sizes, keep the same proportions.

**Photographic section**
Preserve the original photo’s realistic photographic quality, the identity and number of its subjects, their outlines, poses, proportions, key details, perspective, relative positions, natural lighting and shadows, and original colors. Apply only subtle color grading. You may naturally crop secondary surroundings or extend the background slightly, but do not crop out key subjects. Do not stretch, distort, mirror, duplicate, move, or redraw them. Include no text, border, paper texture, or decoration in the photographic section.

**Design-section translation**
Reinterpret the key subjects, outlines, and spatial relationships from the same photo as a rubber-stamp print. Redraw them using simplified engraved lines, defined areas of ink, and measured negative space, while keeping the subjects recognizable. Do not simply apply a printmaking filter to the photo. Use light, warm-colored paper as the base. You may add a fine, subtly distressed border, one small illustrated postage stamp, and one wordless pictorial postmark; keep them understated, within the design section, and clear of the subjects.

**Color and materials**
Extract recognizable dominant and secondary colors, along with the warm–cool relationships, from the input photo, then organize them into a cohesive, limited palette suited to the printmaking process. Preserve the subjects’ characteristic colors. Do not average the colors indiscriminately or impose a fixed palette unrelated to the photo. Use a single dark color drawn from the photo’s shadows for the engraved lines, and the photo’s inherent colors for the inked areas. Add restrained ink dropout, slight printing irregularity, and fine paper fibers while maintaining a pure printmaking look.

**Text and typography**
Place one short English serif title in the upper-left negative space of the design section, with one short line beneath it. Do not create a separate title bar along the bottom. Base the copy on the identifiable subject and mood; keep it concise, clear, and correctly spelled. If reliable information is unavailable, do not add a place name, date, or coordinates. Do not invent brands, credits, or account names. Show no placeholders and do not fabricate information.

**Overall character**
Keep the composition quiet, restrained, and refined, with the order and collectible quality of an art publication. Establish visual hierarchy through materials, negative space, and the relationship between the subject and its surroundings.

**Avoid**
Combining different photos; changing the subjects; pairing unrelated scenes in the two sections; cluttered decoration; an extra title bar; garbled or repeated text; new logos, signatures, or watermarks. Preserve any markings in the original photo as authentic details.

Also avoid fake printmaking created by applying a photo filter, turning the photographic section into an illustration, allowing decoration to cross the boundary, excessive distress, or large areas of grime.
What you'll create
The upper section preserves the photograph while lower ink shapes reinterpret its specific scene. Slight print imperfections and carefully contained graphics maintain a disciplined comparison.
Frequently asked questions
Can lower decorations overlap the photograph?
No. They remain within the design section.
Are large dirty distress patches requested?
No. Excessive grime is excluded.




Comments
Tried this prompt? Share what you made, compare results, or ask a question